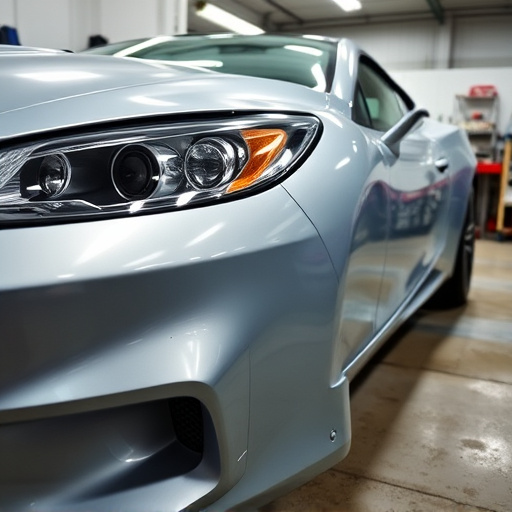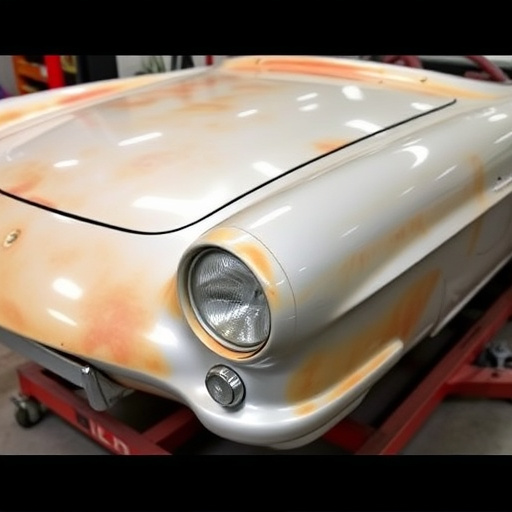
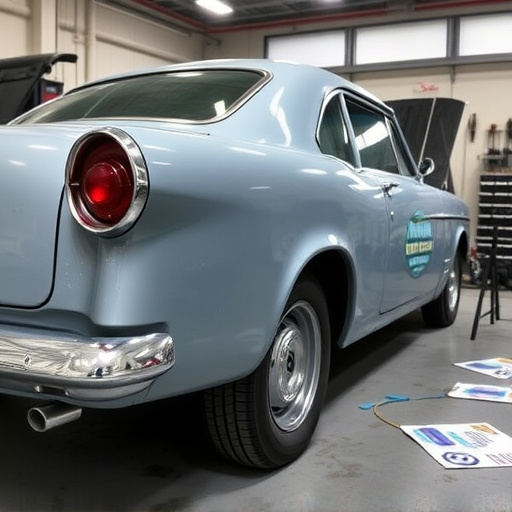
Assessing damage is crucial in a rear bumper repair, involving meticulous inspection with flashlight and mirror for dents, cracks, or separation from the vehicle body. This evaluation guides repair methods ranging from simple straightening to complex restoration techniques. Before repairs, clean and dry the bumper thoroughly, removing lights and reflectors as needed for accessibility. The initial step ensures tailored care based on damage severity and prepares the bumper for a seamless finish and longevity.
Looking to fix that banged up rear bumper? This step-by-step guide breaks down the process, from assessing damage and preparing the surface, to removing and replacing parts, and finally, finishing touches. We’ll walk you through each phase of a successful rear bumper repair, ensuring your vehicle looks like new again. Learn how to gather the right tools and materials, safely disconnect electrical components, and test the restored bumper’s safety features for optimal performance.
- Assessing the Damage and Preparing the Bumper
- – Inspecting the extent of the damage
- – Cleaning and degreasing the bumper surface
Assessing the Damage and Preparing the Bumper
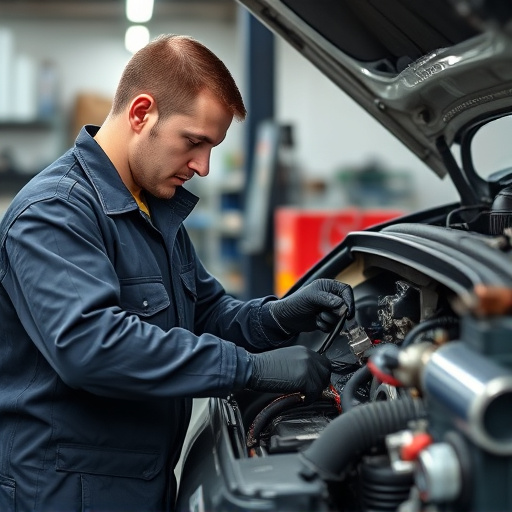
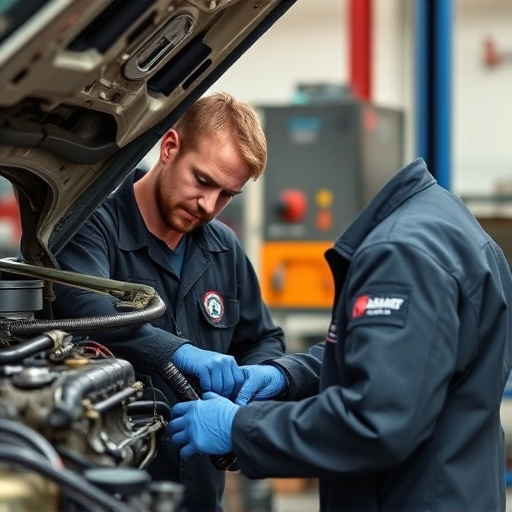
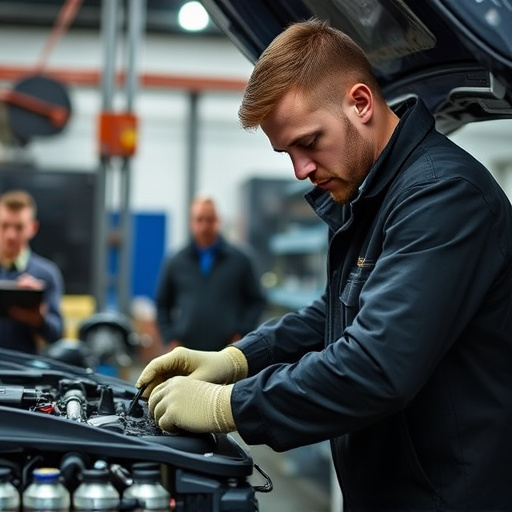
Assessing the Damage is the first crucial step in any rear bumper repair process. Start by examining the extent of the damage caused to your vehicle’s bumper, which may include dents, cracks, or even complete separation from the vehicle body. Use a flashlight and mirror if needed to inspect hidden areas thoroughly. This initial evaluation will guide you or your chosen vehicle body shop in selecting the appropriate repair methods—whether it involves simple straightening, filling and sanding, or more complex car body restoration techniques for severe cases.
Before initiating any repairs, prepare the rear bumper by cleaning it thoroughly to eliminate dirt, grease, or debris that could impede the repair process. Ensure the surface is dry to avoid water spots or premature curing of adhesives or fillers. Some vehicles may require additional steps like removing lights, reflectors, or other components attached to the bumper for accessibility during repair work. This preparation phase is essential in achieving a seamless finish and ensuring the longevity of your rear bumper repair.
– Inspecting the extent of the damage
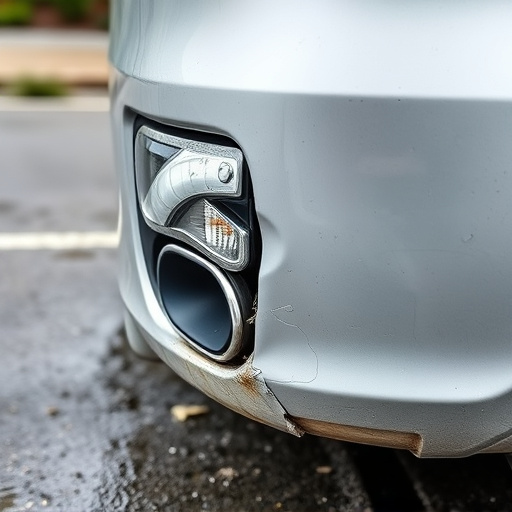
Before diving into the rear bumper repair process, it’s crucial to meticulously inspect the extent of the damage. This initial step is paramount as it determines the complexity and approach for the upcoming repairs. Carefully examine the bumper for cracks, dents, or any signs of deformation. Utilize a flashlight if necessary to peer beneath the surface, especially for deep dents that may hide underlying issues. Take note of the severity—is it merely a small chip or a significant dent that could impact the vehicle’s structural integrity?
This assessment will guide you in deciding whether simple fixes like painting and patching are sufficient for a quick rear bumper repair or if more involved procedures, such as frame straightening, are required to ensure proper alignment and safety. Understanding these nuances is key when considering auto repair services, ensuring that your vehicle receives the best care tailored to its specific needs.
– Cleaning and degreasing the bumper surface
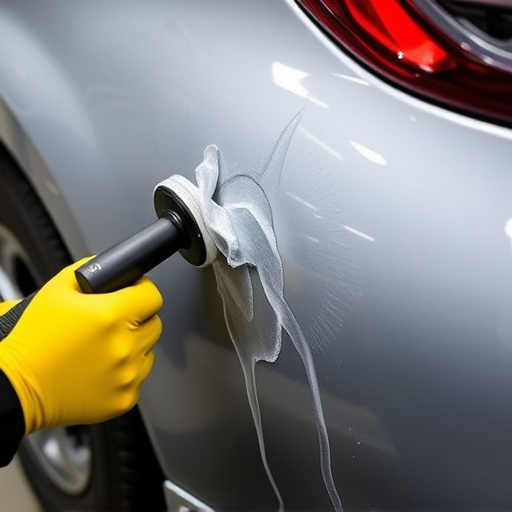
Before any rear bumper repair begins, it’s crucial to start with a clean and degreased surface. This initial step is often overlooked but plays a vital role in ensuring a strong bond between the new parts and the existing bumper. The process starts by thoroughly washing the damaged area with mild soap and water, removing any visible dirt, debris, or contaminants. Once cleaned, a suitable degreaser is applied to dissolve any remaining grease or oil, especially if there was an accident involving fuel or other fluids.
Using a soft brush or cloth, gently scrub the surface, paying close attention to tight corners and crevices. This meticulous cleaning ensures that no debris will interfere with the repair process later on. After degreasing, it’s essential to let the bumper dry completely; this step is critical to avoid water damage or mold formation beneath the new repairs. Many auto repair shops and auto body work facilities employ specialized drying agents or heat guns for a faster and more efficient drying process, preparing the bumper for the subsequent stages of rear bumper repair at their auto collision center.
Rear bumper repair is a straightforward process that can restore your vehicle’s aesthetic appeal and safety. By following these simple steps, you can effectively assess and prepare the damaged area, ensuring a successful fix. Remember, proper cleaning and degreasing are key to achieving a long-lasting, seamless repair. With the right approach, you’ll have your rear bumper looking like new in no time!