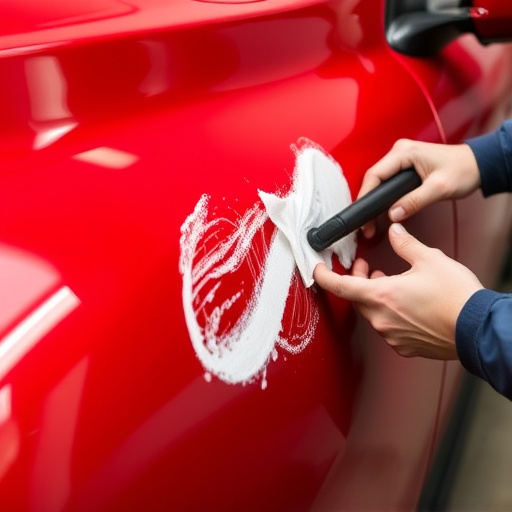


Thoroughly inspect damaged rear bumper for dents, cracks, rust, misalignments, and finish. Repair involves buffing to remove scratches, sanding for smooth base (especially complex designs), then refinishing with coatings for durable, matching gloss finish that protects against future damage.
“Looking to fix that damaged or faded rear bumper? This comprehensive guide walks you through the process of a successful rear bumper repair. From assessing the damage and preparing the surface, to mastering buffing, sanding, and refinishing techniques—we’ve got you covered. By following these detailed steps, you’ll not only restore your bumper’s look but also enhance its durability. Get ready to transform your vehicle’s backend with this expert advice on rear bumper repair.”
- Assessing Damage: Inspecting Your Rear Bumper
- Preparation: Buffing and Sanding Techniques
- Refinishing Process: Restoring Smoothness and Finish
Assessing Damage: Inspecting Your Rear Bumper
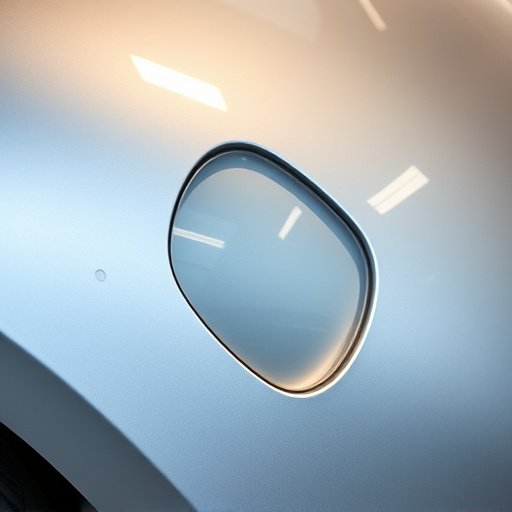
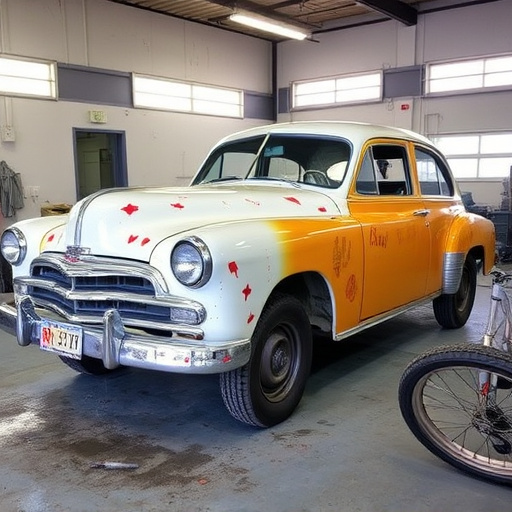
When considering rear bumper repair, the first step is to thoroughly inspect your damaged bumper. This involves carefully assessing the extent of the damage, which can range from minor scratches and dents to more significant cracks or complete detachment. Look for signs of rust, as this could indicate underlying structural issues that may require professional attention during the repair process.
During your inspection, consider factors such as the size and depth of dents, the presence of cracks, and any misalignments with surrounding panels. Also, evaluate the overall condition of the bumper’s finish—is it chipped, faded, or peeling? These observations will guide you in determining whether simple buffing and sanding are sufficient for rear bumper repair or if more intensive refinishing is needed to restore your bumper to its original look and protect it from future damage.
Preparation: Buffing and Sanding Techniques
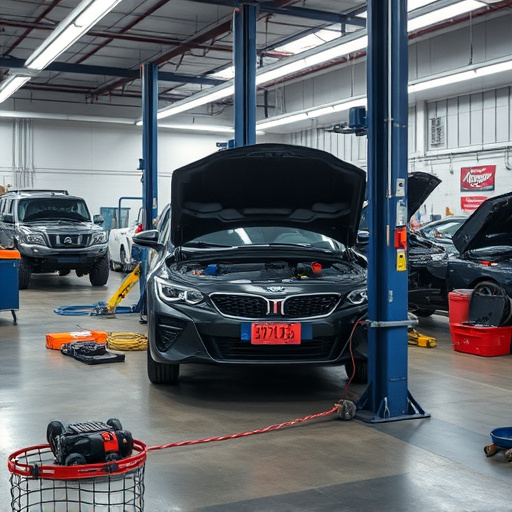
The initial steps in any rear bumper repair involve meticulous preparation to ensure a flawless finish. Buffing is the process of removing scratches and imperfections from the bumper’s surface using specialized compounds and pads. This step not only enhances aesthetics but also creates a smooth base for subsequent refinishing. After buffing, sanding comes into play, employing fine-grit sandpaper to further refine the surface, eliminating any remaining roughness or debris.
Sanding techniques in rear bumper repair are crucial, especially when dealing with collision damage. The process involves careful consideration of the bumper’s material and design to avoid unintended alterations. For instance, on intricate designs like those found in Mercedes Benz repairs, precision is paramount. Skilled technicians use specific sandpaper types and techniques to preserve the bumper’s original shape and aesthetic appeal, ensuring a seamless restoration that matches the vehicle’s overall condition post-collision.
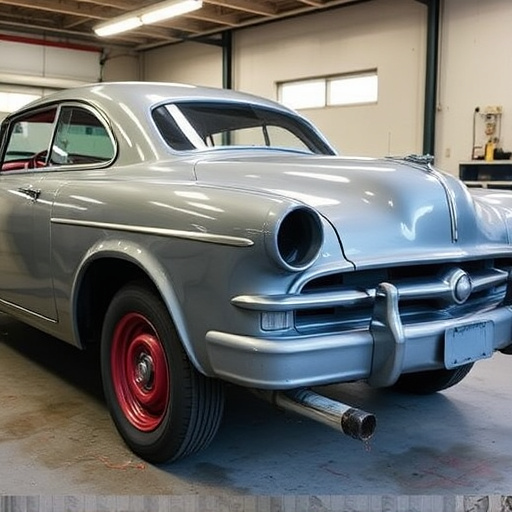
Refinishing Process: Restoring Smoothness and Finish
The refinishing stage is a crucial part of rear bumper repair, aiming to restore the smoothness and finish of your vehicle’s bumper. This process involves several steps that meticulously transform damaged or faded surfaces into a seamless extension of the car’s original aesthetics.
By combining buffing, sanding, and specialized coatings, collision repair services can effectively eliminate blemishes, match the original finish, and ensure a durable, glossy appearance. This not only enhances the overall look of the vehicle but also safeguards against future damage by creating a protective barrier, making it an integral part of any comprehensive automotive repair process.
Rear bumper repair involves a meticulous process of buffing, sanding, and refinishing to restore its smoothness and original finish. By carefully assessing the damage, employing effective preparation techniques, and following a precise refinishing process, you can effectively fix your damaged rear bumper, ensuring both aesthetic appeal and structural integrity. These steps are crucial for maintaining the overall look and value of your vehicle.