


TL;DR:
Rear bumper repair begins with a thorough assessment of damage, ranging from minor dents to severe cracks or misalignment. Severity guides the repair scope, from simple auto painting and fender repair to complex metal straightening and component realignment. Essential tools include impact guns, sanders, welding equipment, adhesives, fillers, and paint matching the vehicle's original finish. Safety measures, such as parking brake engagement, wheel chocking, protective gear, and a secure work environment, are paramount. Complex repairs may require consultation with professional bodyworkers for optimal results.
Looking to fix that banged-up rear bumper? This comprehensive guide walks you through the entire process, from assessing damage to final touches. We break down the steps involved in rear bumper repair, ensuring a safe, effective solution.
First, understand common bumper damages and safety precautions. Gather essential tools like dent pullers, sandpaper, primer, paint, and clamps. Then, carefully remove the damaged bumper, clean the area, and prepare for painting. Next, fill and sand dents or cracks, apply primer and match paint, reinstall securely, and test functionality. Achieve a flawless repair with these simple, step-by-step instructions.
- Assessing the Damage and Gathered Tools
- – Understanding different types of rear bumper damage
- – Safety precautions before starting the repair
Assessing the Damage and Gathered Tools

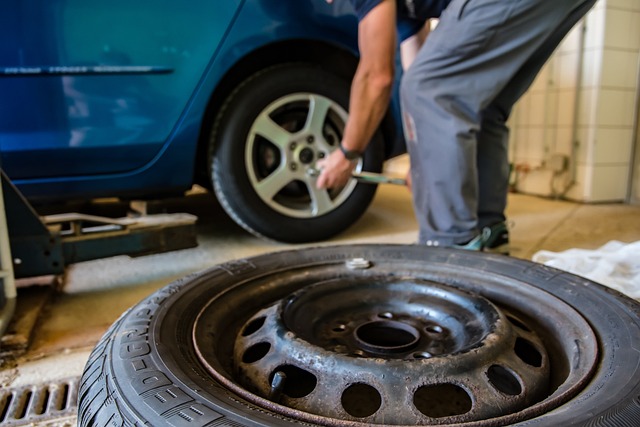
The first step in any rear bumper repair is a thorough assessment of the damage. This involves closely examining the bumper for cracks, dents, or any signs of impact. The extent of the damage will dictate the scope of the repair, guiding the process from here on. If the bumper is severely damaged, it might require replacement, whereas minor dents can often be fixed with less invasive methods.
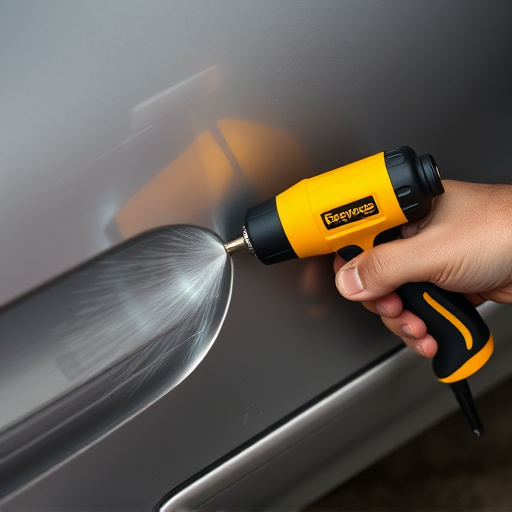
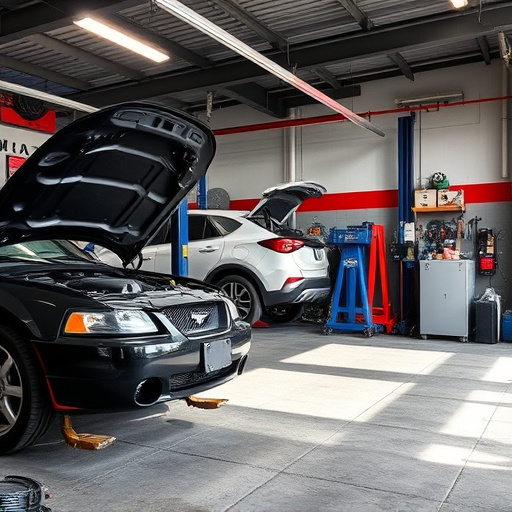
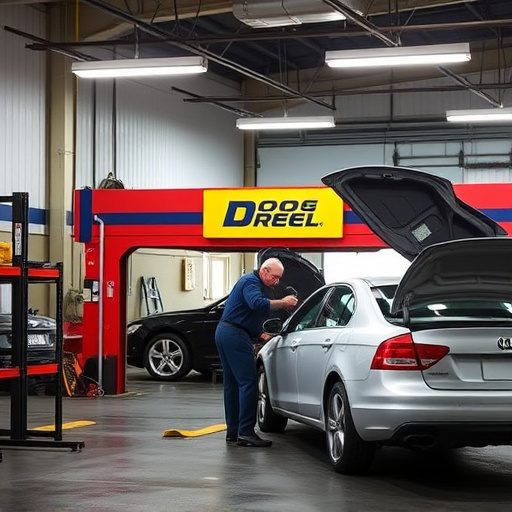
For a successful rear bumper repair, gathering the right tools is essential. This includes specialized equipment like impact guns, sanders, and welding tools for more complex repairs. Additionally, auto body shop services often rely on adhesives, fillers, and paints that match the vehicle’s original finish. Having these tools ready ensures a seamless and effective auto collision repair process, restoring your bumper to its pre-incident condition.
– Understanding different types of rear bumper damage

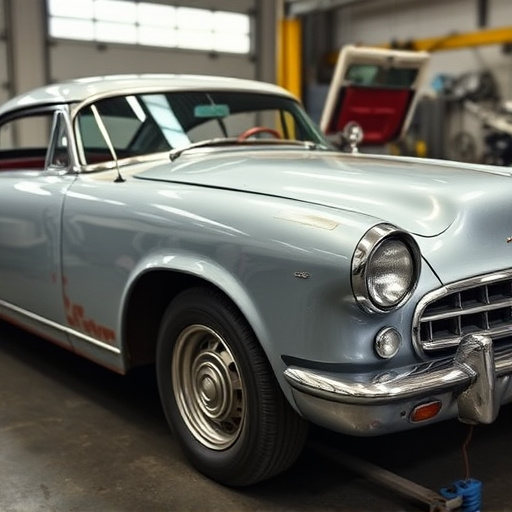
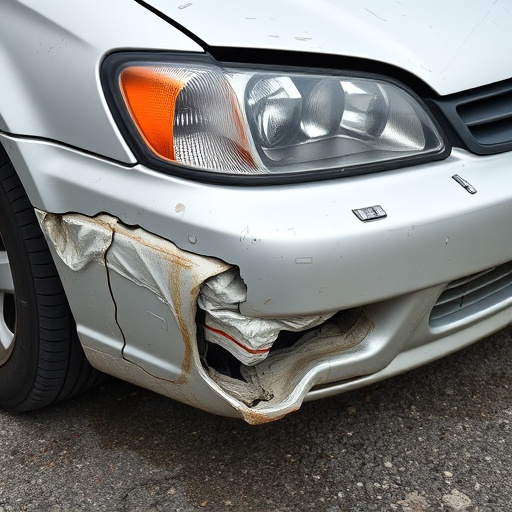
Rear bumper damage can vary greatly depending on the incident – from minor dings and scratches to significant crumpling and deformation. Understanding these different types is crucial when considering rear bumper repair. Dents and scratches are often the most common, typically resulting from parking errors or minor collisions. These can usually be addressed with simple techniques like auto painting or fender repair, which involve matching the bumper’s original finish precisely.
More severe damage, such as significant crumpling or misalignment, may require more extensive body shop services. Here, specialized equipment is used to straighten the metal and realign components. In some cases, replacement parts might be needed, especially if the bumper’s structural integrity has been compromised. Proper evaluation by a professional is essential to determine the best course of action for rear bumper repair.
– Safety precautions before starting the repair
Before tackling any rear bumper repair, prioritizing safety is paramount to avoid accidents and injuries. Always ensure your vehicle’s parking brake is engaged and set securely, especially on slopes or uneven surfaces. Position wheel chocks around the tires opposite the side you’ll be working on for added stability. Put on protective gear, including gloves and safety goggles, to shield yourself from debris and potential hazards. Additionally, make sure you work in a well-lit area with adequate ventilation to enhance visibility and prevent fumes buildup. If your vehicle has any spare parts or tools lying around, keep them secured and out of reach to avoid tripping hazards.
For comprehensive rear bumper repair, understanding the extent of damage is crucial. Inspect the bumper for cracks, dents, or deformities that require attention. Depending on the severity, you might need to perform tasks such as painting, patching, or even frame straightening using specialized equipment like a frame machine. Remember, if the damage extends beyond simple repairs, consulting a professional mechanic or body shop specializing in vehicle bodywork and tire services could be necessary for safety and optimal results.
Rear bumper repair is a feasible DIY project for those with basic automotive skills. By understanding the type of damage and gathering the right tools, you can effectively fix your vehicle’s rear bumper, ensuring it looks as good as new. Remember to prioritize safety throughout the process and refer to professional guidance when needed. With these steps, you’re well-equipped to handle minor bumps and scratches, keeping your car looking pristine on the road.